Cool pi 4B & CM5 探索快速安装系统新方法
-
@AugustRobot_Zou 我一直插的是USB3.0的上面的端口,能正常启动。
-
@edwardzhou said in Cool pi 4B & CM5 探索快速安装系统新方法:
@AugustRobot_Zou 我一直插的是USB3.0的上面的端口,能正常启动。
你的主板刷了新版本的loader
-
-
@xingzhan2012 loader阶段选择是在串口上操作
-
@jack_admin 我有个疑问,我用SD卡部署的系统,做好安装盘。然后能在EMMC卡上自动安装吗?
我理解应该不行吧?SD和EMMC的block名字不一样,还是说安装脚本会自动识别修改 -
@AugustRobot_Zou 通过u盘方式可以按优先级自动安装
-
进入ubuntu的默认密码是什么?
-
@wuming coolpi/coolpi
-
@大法师 我把console=tty0改成了ttyS0,115200n81,但是串口还是没有输出调试信息
-
@Twsuts 主板是4B还是CM5,串口启动信息发一个
-
usb cable 2.0的就行了吧
-
@jugg 可以的
-
This post is deleted! -
This post is deleted! -
This post is deleted! -
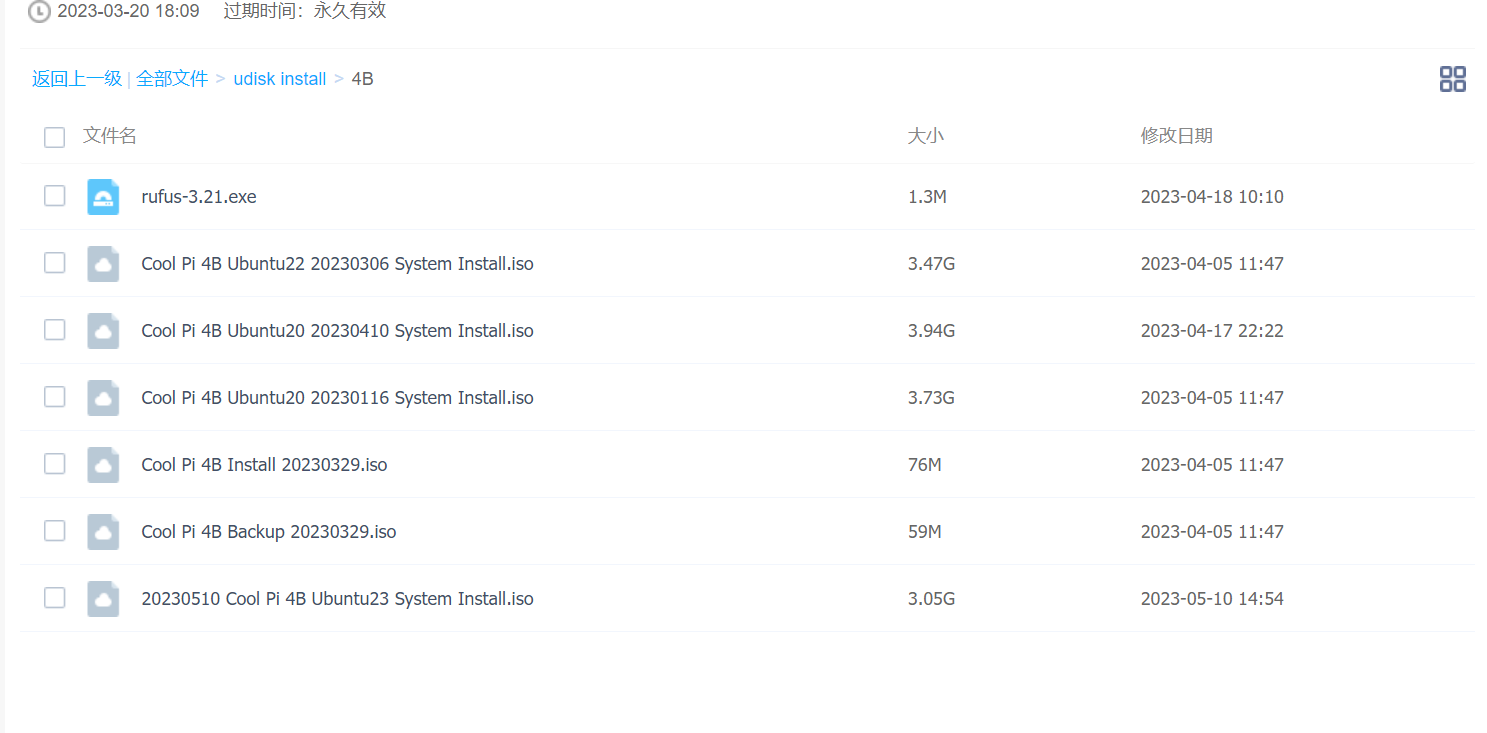
这里这么多镜像
到底怎么用
用哪个我刷了

打不开啊
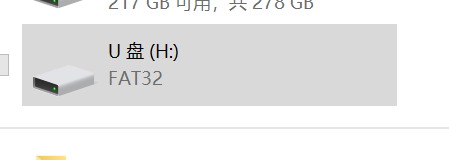
怎么备份?怎么还原?能不能描述清楚
备份是备份emmc的所以还是只备份了文件系统 -
@edwardzhou said in Cool pi 4B & CM5 探索快速安装系统新方法:
最近一直在用这个方法,非常太好用太方便了。
我对上面的备份安装放在同一个U盘实现的方法,做了一些改进,通过启动菜单选择 备份 还是 安装, 比每次去改 initrd.img 要方便很多。
步骤1. 编辑 /extlinux/extlinux.conf 如下
menu title Select the boot mode
TIMEOUT 60
default Linux coolpi backup

label Linux coolpi backup
	kernel /Image
	initrd /initrd-backup.img
	fdt    /rk3588s-cp4.dtb
	append root=LABEL=writable rw rootfstype=ext4 console=ttyS0,115200n81 quiet splash plymouth.ignore-serial-consoles vt.global_cursor_default=1 irqchip.gicv3_pseudo_nmi=0 net.ifnames=0

label Linux coolpi install
	kernel /Image
	initrd /initrd-install.img
	fdt    /rk3588s-cp4.dtb
	append root=LABEL=writable rw rootfstype=ext4 console=ttyS0,115200n81 quiet splash plymouth.ignore-serial-consoles vt.global_cursor_default=1 irqchip.gicv3_pseudo_nmi=0 net.ifnames=0
步骤2, 把 install 中的 initrd.img 复制过来,并改名为 initrd-install.img
步骤3, 把 backup 中的 initrd.img 复制过来,并改名为 initrd-backup.img
U盘查到板子上,上电启动。
你局可以看到菜单Capacity: 30436.5 MB = 29.7 GB (62333952 x 512) ... is now current device Scanning usb 0:1... Found /extlinux/extlinux.conf Retrieving file: /extlinux/extlinux.conf reading /extlinux/extlinux.conf 629 bytes read in 39 ms (15.6 KiB/s) Select the boot mode 1: Linux coolpi backup 2: Linux coolpi install Enter choice:输入1 或 2 回车即可,默认是1, 60秒无输入,则自动启动backup
可以参考 edwardzhou 整理的内容
@jugg -
@大法师
根本就还原不了 各种问题 -
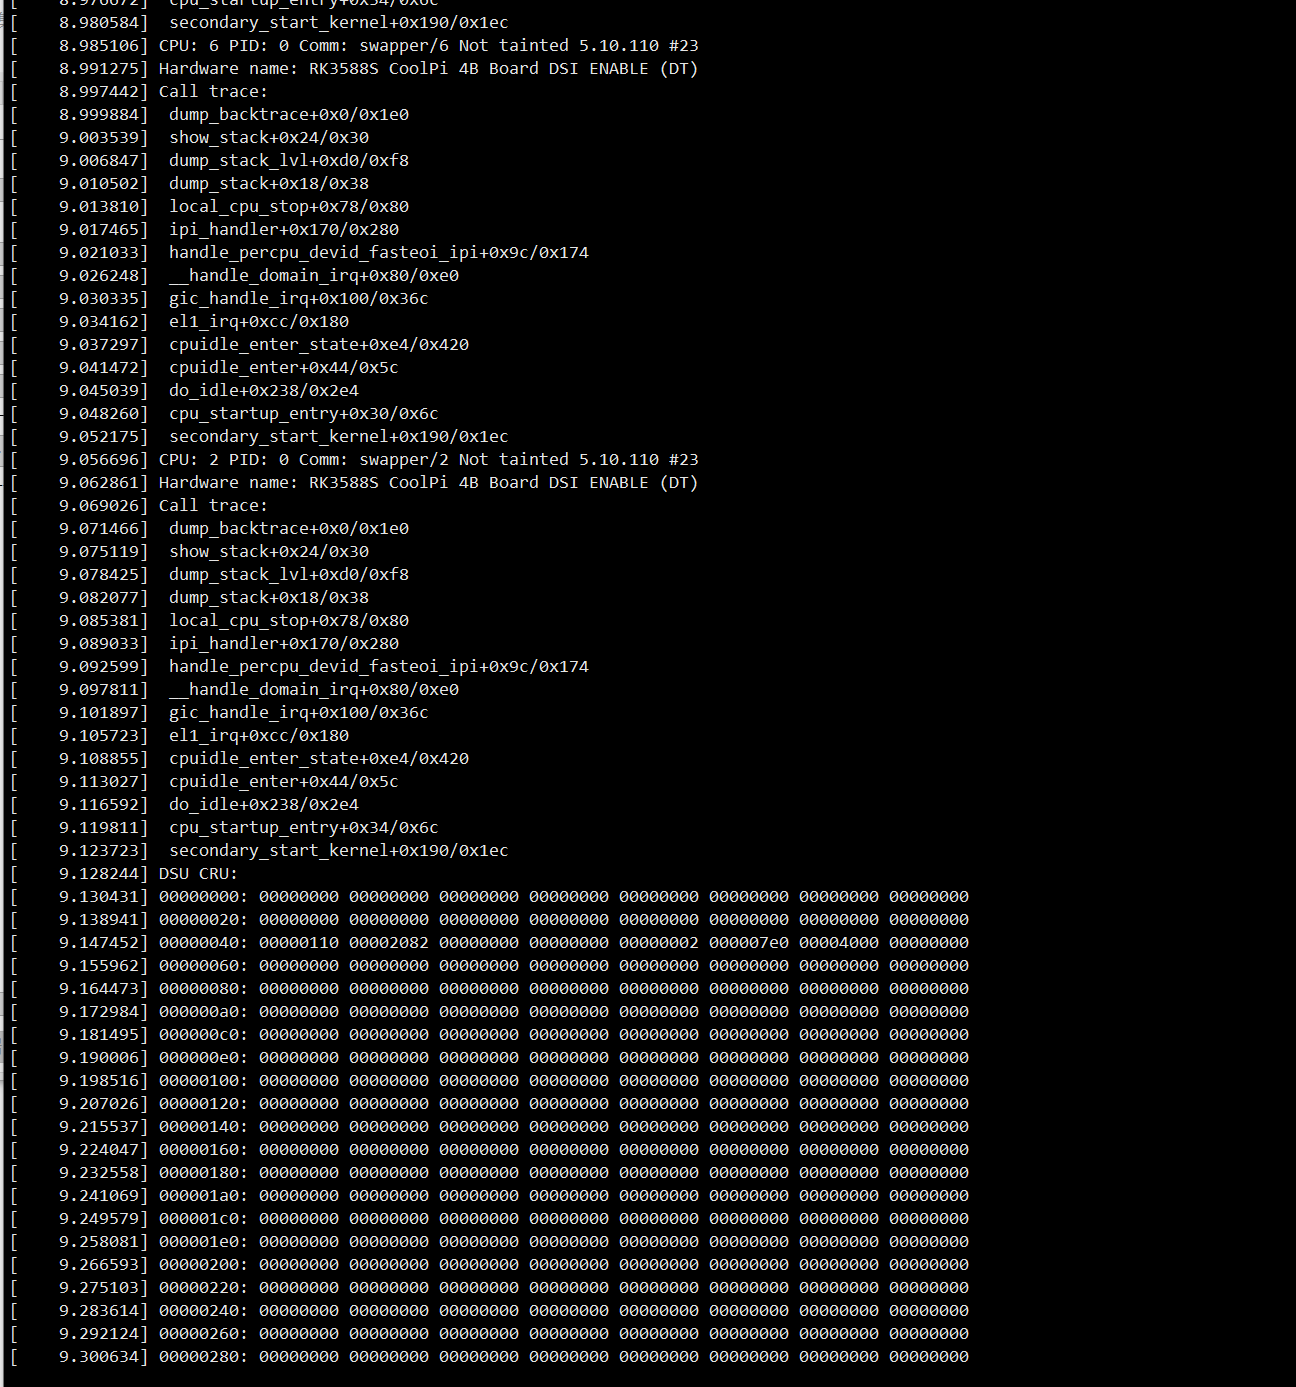
这就是还原出来的系统 两次都这样 根本启动不了 -
@jugg 梳理下使用方法,顶楼有iso下载链接
-
@大法师

把备份盘的放到这里 不就可以了?
备份的时候显示器有进度 还原过程显示器也有进度 中间都没有异常
但是还原的系统就是上面那样 开不了机 -
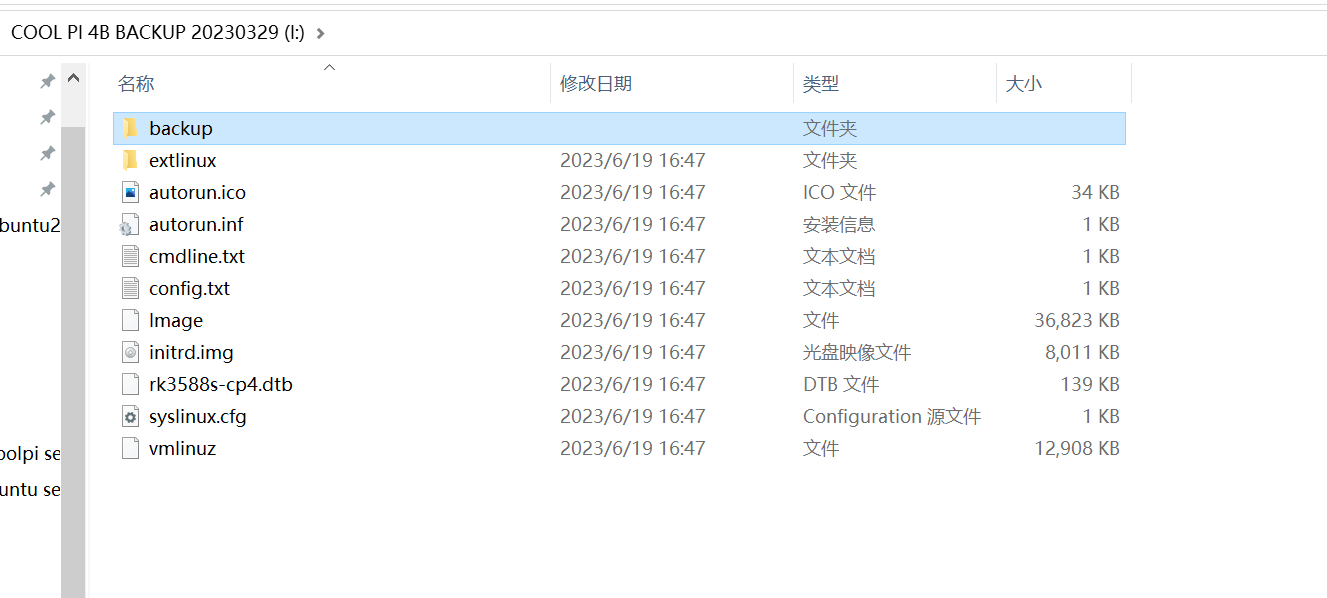
备份盘的backup里面的内容已经剪切出来了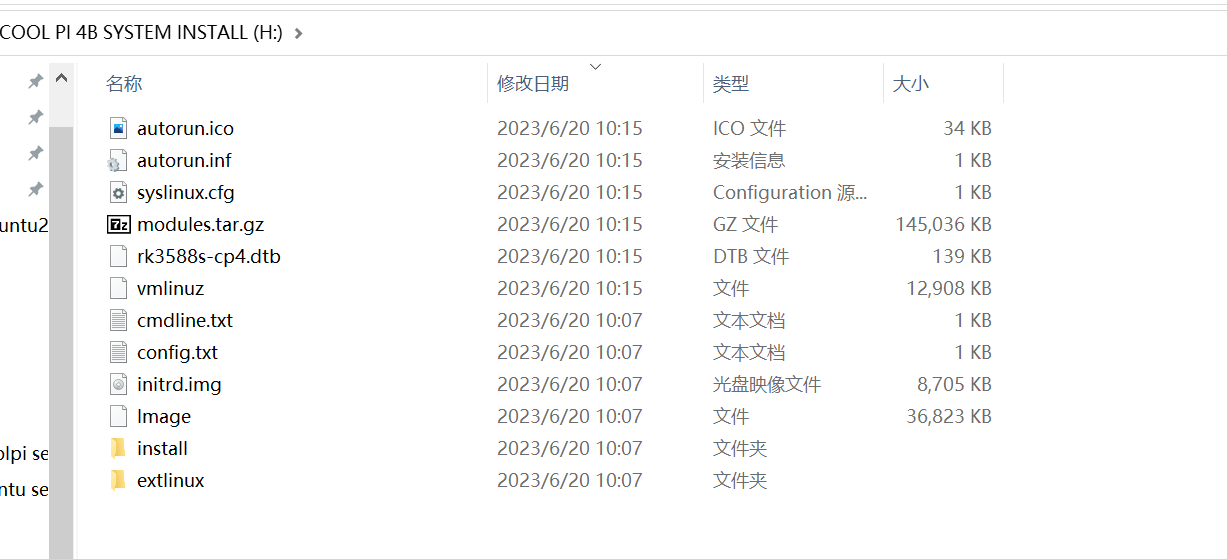

rufus 做的系统盘和备份盘
这中间有什么问题?这些系统盘和备份盘 都是我新做的
之前做的盘备份、还原都行
这次的不行 我就重新刷了一遍 结果还是一样 -
昨天我用我之前做的备份盘 备份系统 发现一备份就死机
然后重新刷了备份盘 备份成功
结果还原的系统进不去
然后又刷了还原盘
结果还原的还是进不去
(https://cool-pi.com/topic/360/系统备份异常/6) -
@jugg 可以试下把你本地内核源码目录,编译生成的Image、dtb文件拷贝到U盘(U盘 根目录 install盘或backup盘)
-
@jack_admin 没用 刷了 还是进不去
-
@jack_admin
有没有一个靠谱的方法备份、还原系统? -
这个方法我一直在用,没遇到你说的现象。U盘多大容量,需要备份的系统有多大,系统还原异常的完整log输出一份
-
@大法师
U盘16G 备份的系统3个G不到
这个就是备份盘 备份出来的backup文件夹的内容

串口输出
COOLPI LOADER BY YANYI(Jan 04 2023)

DRAM:  8 GiB
Using default environment

0 2 1 3 6 8 7 9 trsv ln0 mon rx cdr lock timeout
dp@fde50000 disconnected
Monitor has basic audio support
hdmi info isn't saved in main block
mode:1920x1080 bus_format:0x100a
hdmi@fde80000:  detailed mode clock 148500 kHz, flags[5]
    H: 1920 2008 2052 2200
    V: 1080 1084 1089 1125
bus_format: 100a
VOP update mode to: 1920x1080p0, type: HDMI0 for VP0
dclk:148500,if_pixclk_div;2,if_dclk_div:4
rockchip_vop2_init: hdmi0_phy_pll may not define
rockchip_vop2_init: hdmi1_phy_pll may not define
assigned-clock-parents's node not define
VP0 set crtc_clock to 148500KHz
VOP VP0 enable Esmart0[356x124->356x124@782x478] fmt[1] addr[0xedf21000]
CEA mode used vic=16
mtmdsclock:148500000
bus_width:0x16a8c8,bit_rate:1485000
hdptx_ropll_cmn_config bus_width:16a8c8 rate:1485000
hdptx phy pll locked!
hdptx phy lane locked!
dw_hdmi_setup HDMI mode
don't use dsc mode
dw hdmi qp use tmds mode
Autoboot in 1 seconds
trsv ln0 mon rx cdr lock timeout
dp@fde50000 disconnected
VOP VP0 enable Esmart0[356x124->356x124@782x478] fmt[1] addr[0xedf21000]
starting USB...
Bus usb@fc880000: USB EHCI 1.00
scanning bus usb@fc880000 for devices... 2 USB Device(s) found
       scanning usb for storage devices... 1 Storage Device(s) found

Device 0: Vendor: Generic  Rev: 8.07 Prod: Flash Disk
            Type: Removable Hard Disk
            Capacity: 30000.0 MB = 29.2 GB (61440000 x 512)
... is now current device
Scanning usb 0:1...
Found /extlinux/extlinux.conf
Retrieving file: /extlinux/extlinux.conf
reading /extlinux/extlinux.conf
274 bytes read in 35 ms (6.8 KiB/s)
1:	Linux coolpi
Retrieving file: /initrd.img
reading /initrd.img
8913121 bytes read in 807 ms (10.5 MiB/s)
Retrieving file: /Image
reading /Image
37706240 bytes read in 3478 ms (10.3 MiB/s)
append: root=LABEL=writable rw rootfstype=ext4 console=tty0 quiet splash plymouth.ignore-serial-consoles vt.global_cursor_default=1 irqchip.gicv3_pseudo_nmi=0 net.ifnames=0 rtleth=ethaddr:d6:c9:c9:a0:cf:46
Retrieving file: /rk3588s-cp4.dtb
reading /rk3588s-cp4.dtb
141838 bytes read in 47 ms (2.9 MiB/s)
## Flattened Device Tree blob at 0x0a100000
   Booting using the fdt blob at 0x0a100000
   Loading Ramdisk to eb154000, end eb9d40e1 ... OK
   Loading Device Tree to 00000000eb12e000, end 00000000eb153a0d ... OK
Adding bank: 0x00200000 - 0x08400000 (size: 0x08200000)
Adding bank: 0x09400000 - 0xf0000000 (size: 0xe6c00000)
Adding bank: 0x100000000 - 0x200000000 (size: 0x100000000)
Adding bank: 0x2f0000000 - 0x300000000 (size: 0x10000000)

Starting kernel ...

I/TC: Secondary CPU 4 initializing
I/TC: Secondary CPU 4 switching to normal world boot
I/TC: Secondary CPU 5 initializing
I/TC: Secondary CPU 5 switching to normal world boot
I/TC: Secondary CPU 6 initializing
I/TC: Secondary CPU 6 switching to normal world boot
I/TC: Secondary CPU 7 initializing
I/TC: Secondary CPU 7 switching to normal world boot
I/TC: Secondary CPU 1 initializing
I/TC: Secondary CPU 1 switching to normal world boot
I/TC: Secondary CPU 2 initializing
I/TC: Secondary CPU 2 switching to normal world boot
I/TC: Secondary CPU 3 initializing
I/TC: Secondary CPU 3 switching to normal world boot
显示器输出
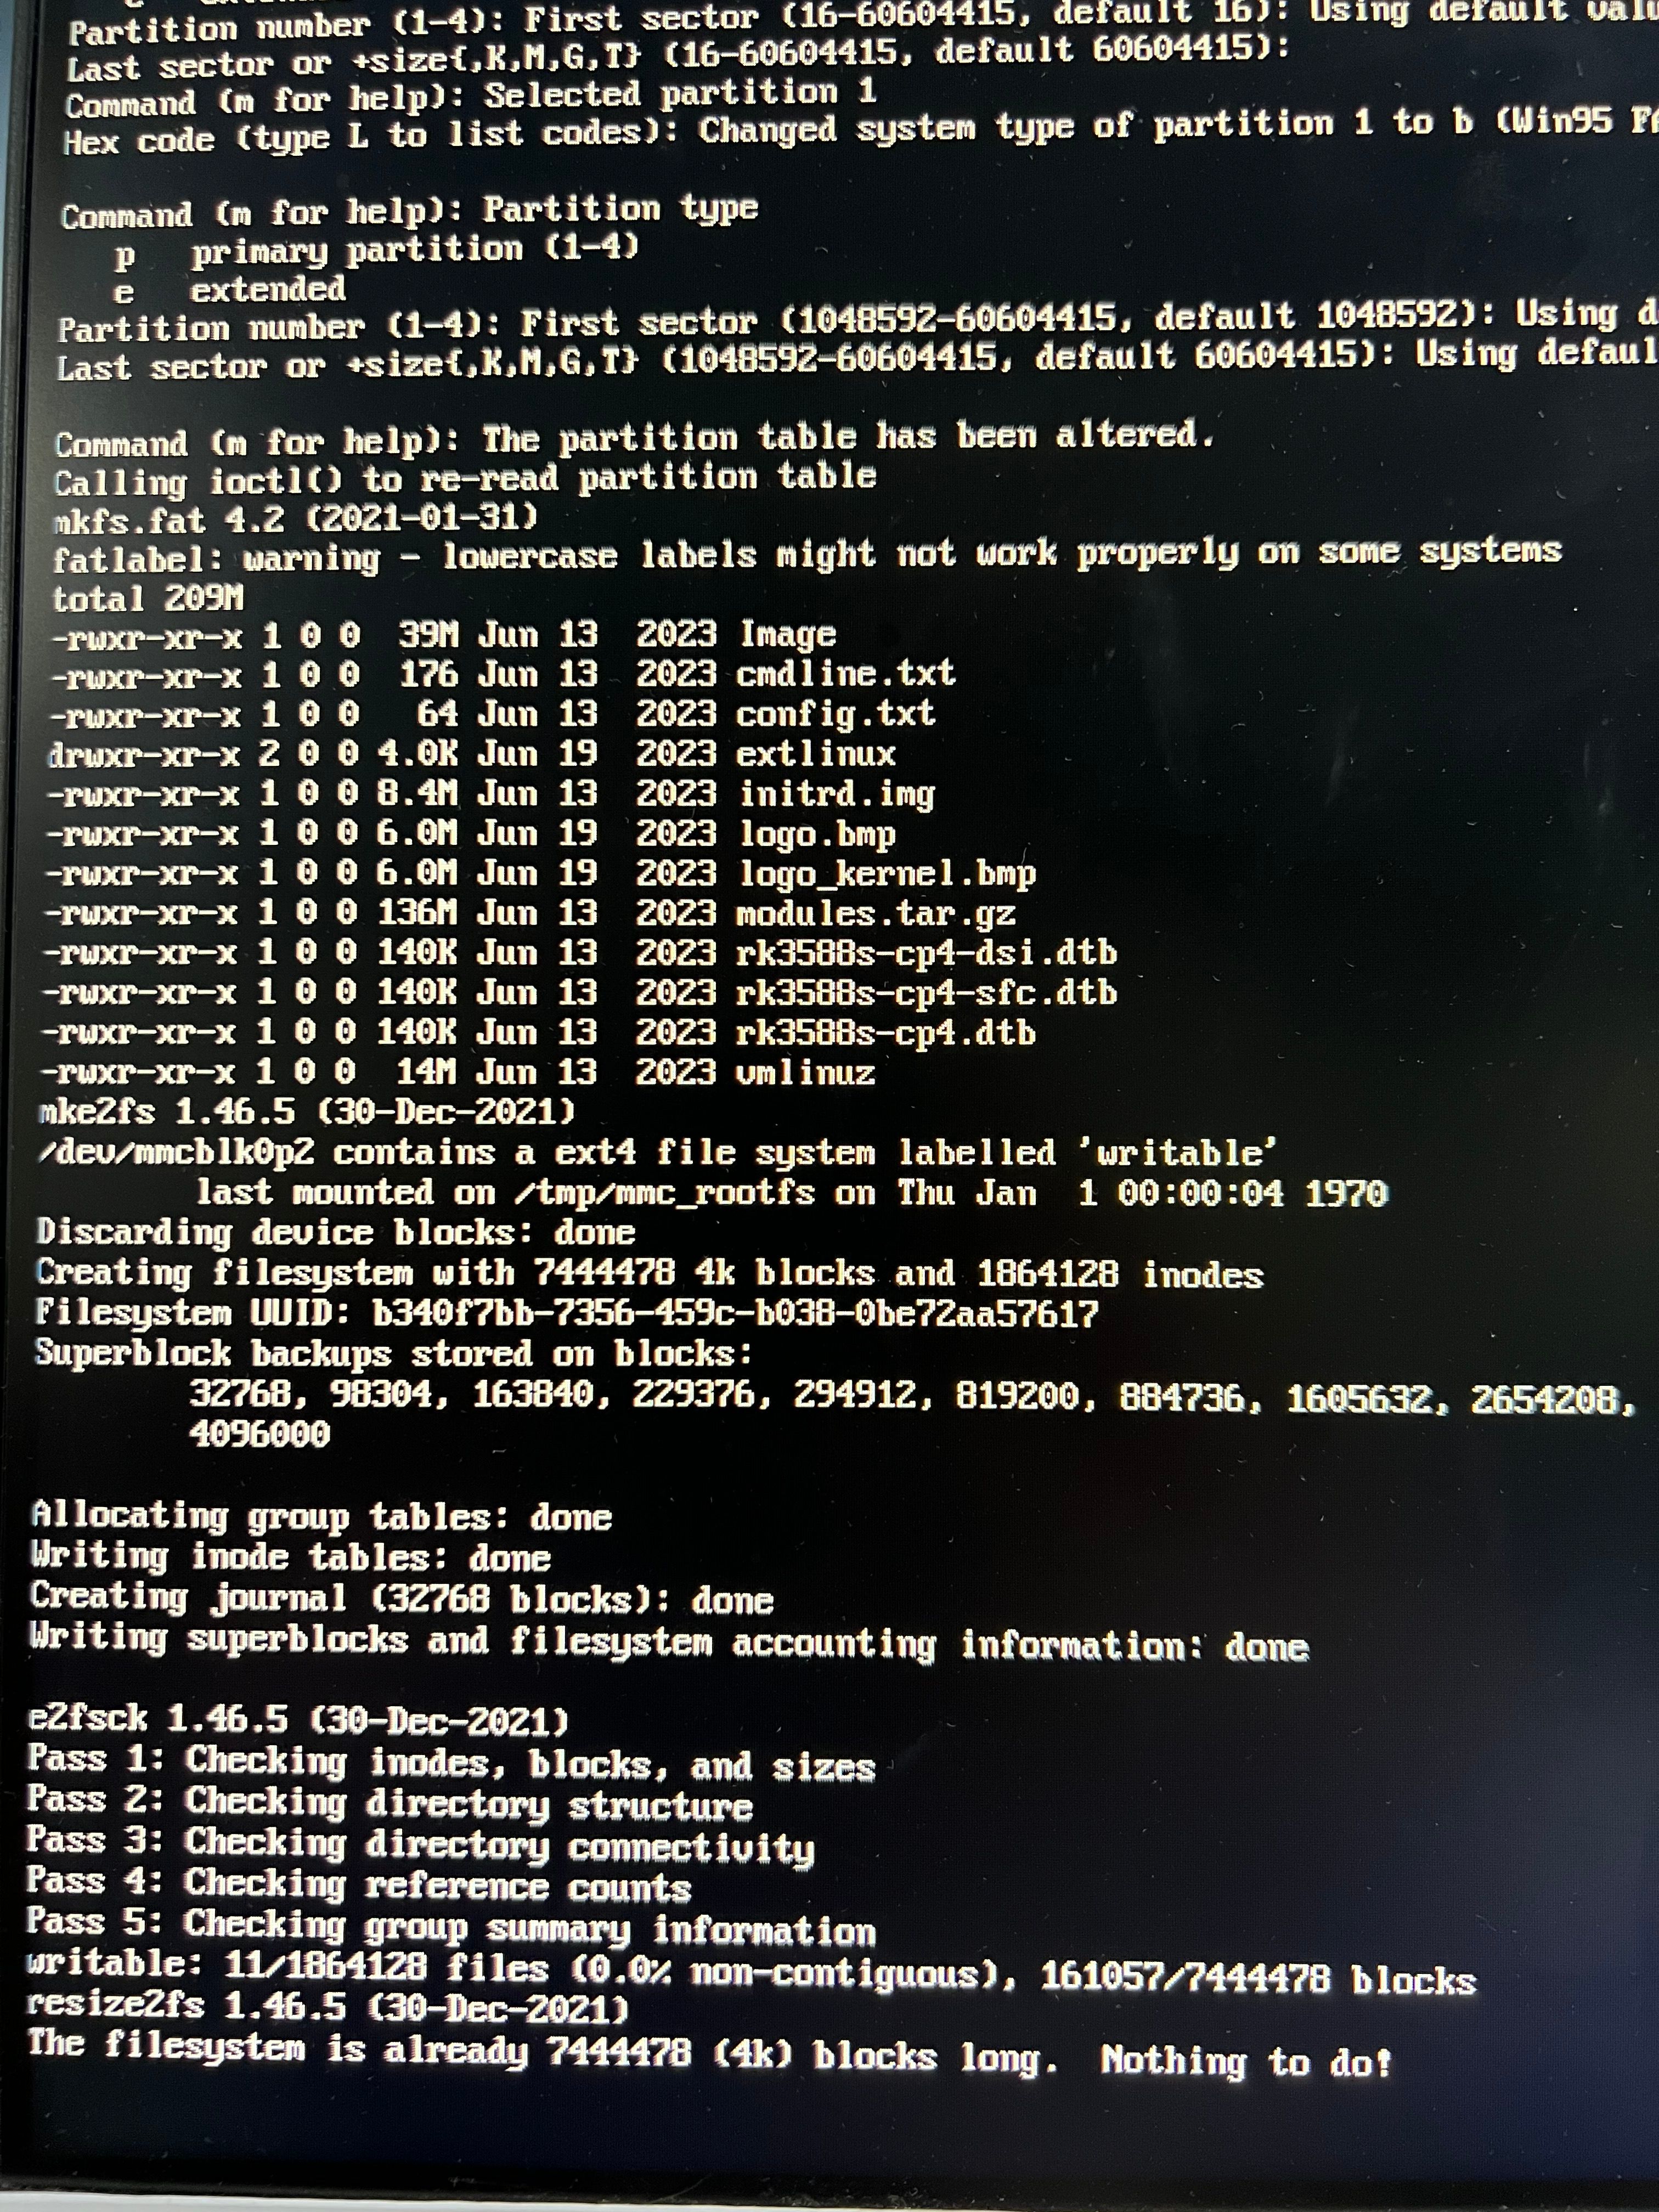
我这备份出来的系统无法还原 我都试了很多次了
-
@jugg backup文件夹的内容传一份私发我试下
-
@大法师
新做的安装盘可以刷系统
备份盘的backup更新到安装盘的install目录下 就刷不了系统 直接就进系统了
有没有详细操作过程 到底怎么操作才能保证能刷
